In this post, I am going to show you how cleaning your vaporizer regularly can save you time and money in the long run. It is easy once you get started and when you see the difference it can make… you won’t go a month without cleaning it!
Just like anything, vaporizers need to be cleaned every now and then to keep them in top performing shape.
If you are like me, you want to get the most out of your device. So let me show you how you can look after them to ensure they look after you for a long time to come.
When it comes to vaporizing, remember that your unit heats up organic materials to anywhere between 50 and 240 or so Celsius. So naturally there will be some amount of resin build up on the internal parts.
These parts need regular cleaning, so your vaporizer can keep functioning properly.
STEP 1: PREPARE
Here is what you can do to keep your device clean.
Always make sure your device is switched off, unplugged and completely cooled down before you begin to clean it.
STEP 2: REMOVE RESIDUE
I highly recommend to use a brush. You get one with most kits and you can use it to clean your chamber.
These parts need regular cleaning so your vaporizer can keep functioning properly.
It’s best to do it after each use. But after you have used the device for few sessions, you will need to give it a GOOD clean.
So for the resin building up on your parts, you can use rubbing alcohol. Or if you don’t like the smell of the alcohol rub, you can use a bunch of natural essential oils and these are even better in terms of their cleaning power.
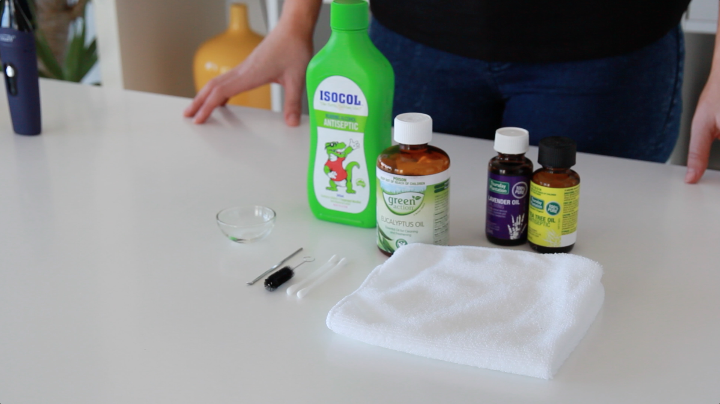
My favourite is Eucalypt oil, very easy to get here in Australia and smells very nice. If you live elsewhere or if you just don’t like Eucalyptus oil, there are other essential oils which also do a great job. Tea Tree and Lavender are just a couple to mention, however, Lemon or Lime oil is also excellent.
STEP 3: CLEAN & RINSE
Next step when you are cleaning your vaporizer is using a q – tip and a cloth to wipe off and clean your parts. You should also rinse the parts where possible.
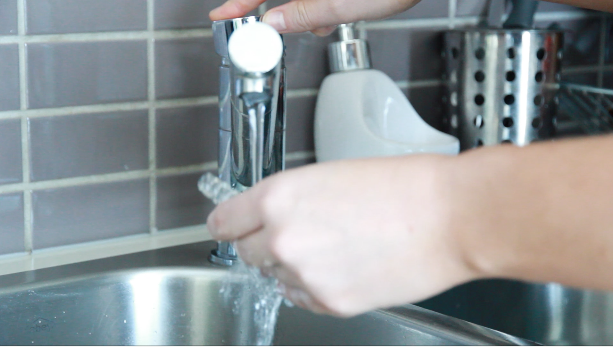
But make sure you don’t apply water to any electrical parts or any hot glass parts for obvious reasons.
You’ll be surprised to see how well you can clean your unit this way.
Clogged screens seem to be no problems for Eucalyptus essential oil. You can clean your screens this way a few times before you need to change them.
STEP 4: FINAL WIPE DOWN
Lastly, you can wipe the unit with a clean cloth to remove any dust or grime from the outside and you are done.
Your vaporizer should be as good as new. If you repeat this cleaning routine every so often you will prolong the life of the parts and the device so we highly recommend it.
You can learn more about cleaning your vaporizer in our Learning Centre.
I hope you found this article useful and please do not hesitate to let us know if you have any comments or suggestions.